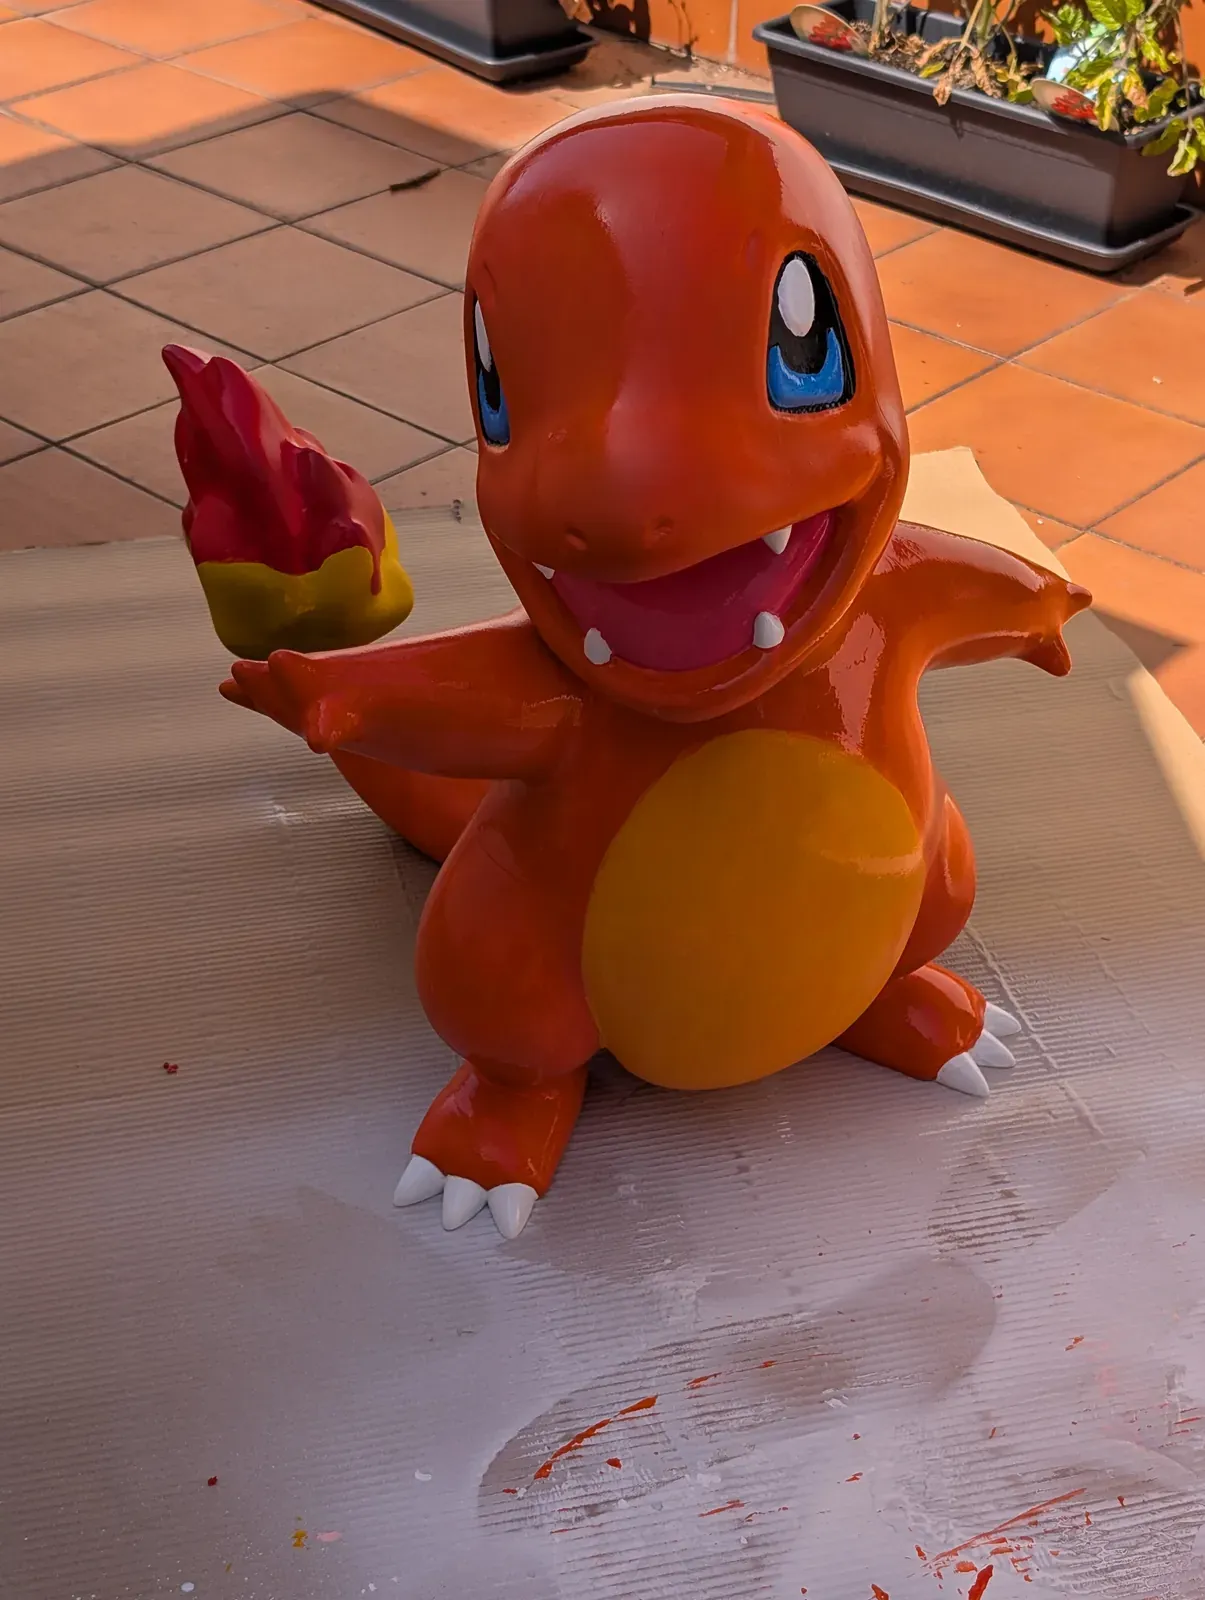
Charmander 1:1 scale
I printed and painted a life-size Charmander.
Visit →3D print
First of all, I’m not a 3D designer. My Blender skills are super limited and I could never create a model like this one, so a big thank you to Ryan @ TheMajinLab for sharing it — I love it! Here is the direct link to the model.
Now I’ll explain the process I followed to build it.
#1 Printing
Definitely the easiest part, but a long one. I don’t print at night because I don’t like the noise when I’m trying to sleep, and each section needs several hours, so it ended up taking many days.
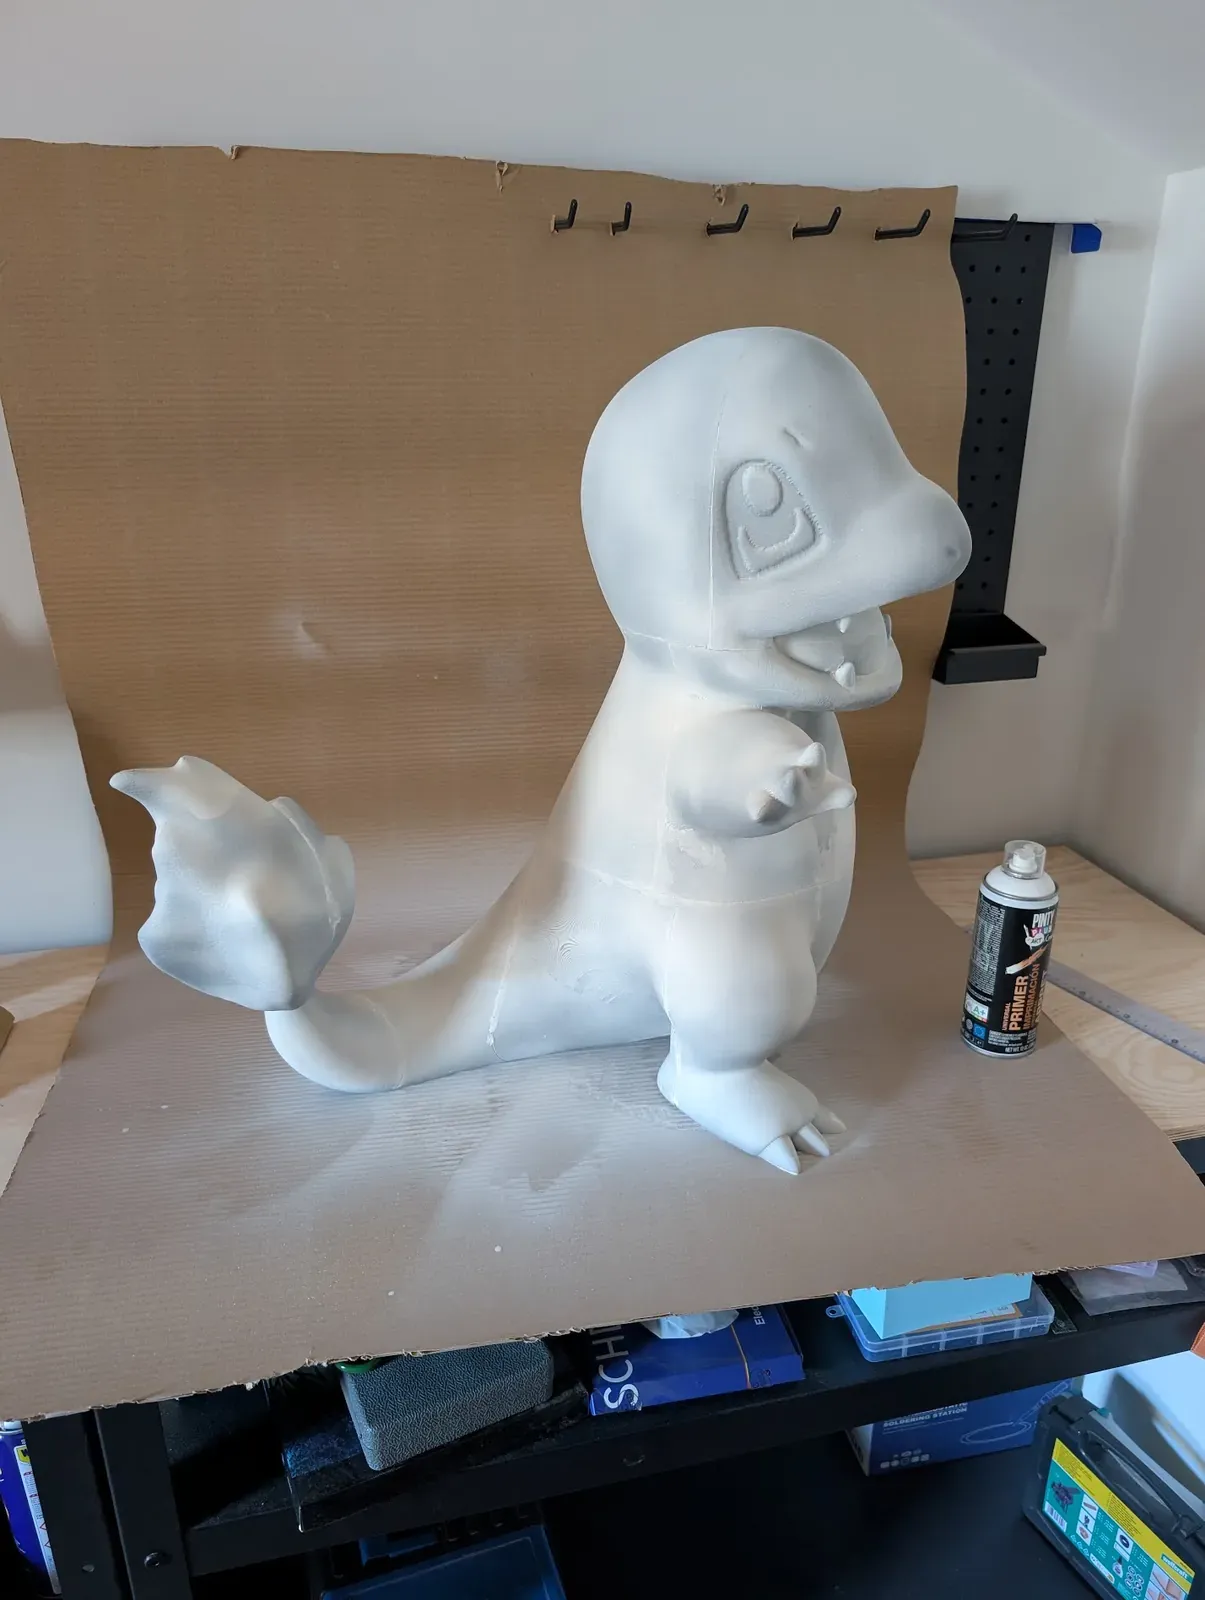
I printed everything in gray, and I think that was a mistake. The painting would have been much easier if I had printed it in orange. Next time I’ll use a filament closer to the final color, or just white.
I also needed more filament than I had at home… so I ordered more, which added even more days.
I used PLA, because it’s what I always use and what I had at home. The thing is, I didn’t know it was going to end up outside in the garden… and PLA doesn’t really like the sun. It gets soft with heat and brittle after a few months. Maybe ASA was the better idea here — it’s the one people use for stuff that lives outside. We’ll see how it survives the summer.
#2 Glue it
Next step: gluing all the printed parts together. An easy one again, since the model has small pegs and holes that hold each piece in place.
#3 Fill and sand it
Once the figure was glued, I filled the joints between the pieces with wood filler. I read that you are supposed to cover the whole figure with it, but I was too lazy for that, so I only filled the seams.
Then I had to sand the whole figure, going through different sandpaper grits, from the roughest to the finest. Long and boring, but there is no way around it.
It wasn’t perfect, and the finish would have been better if I had done it properly. But it would also have been much longer and harder, and I wasn’t up for that. Thinking about it now, if I had covered the whole thing, the filament color wouldn’t have mattered at all — everything would have ended up white anyway.
#4 Paint
This was the hardest part, as expected, because I have no experience with painting. I started with this one because it’s big, and mistakes in the details are much easier to overlook on a large model than on a small one 😅
I read about the process, and the steps were clear: primer → paint → clear protective varnish.
#4.1 Primer
Not much to say here. This step is what makes the paint stick properly to the plastic. Just cover the table and everything around it so you don’t get it all dirty, and spray.
#4.2 Painting
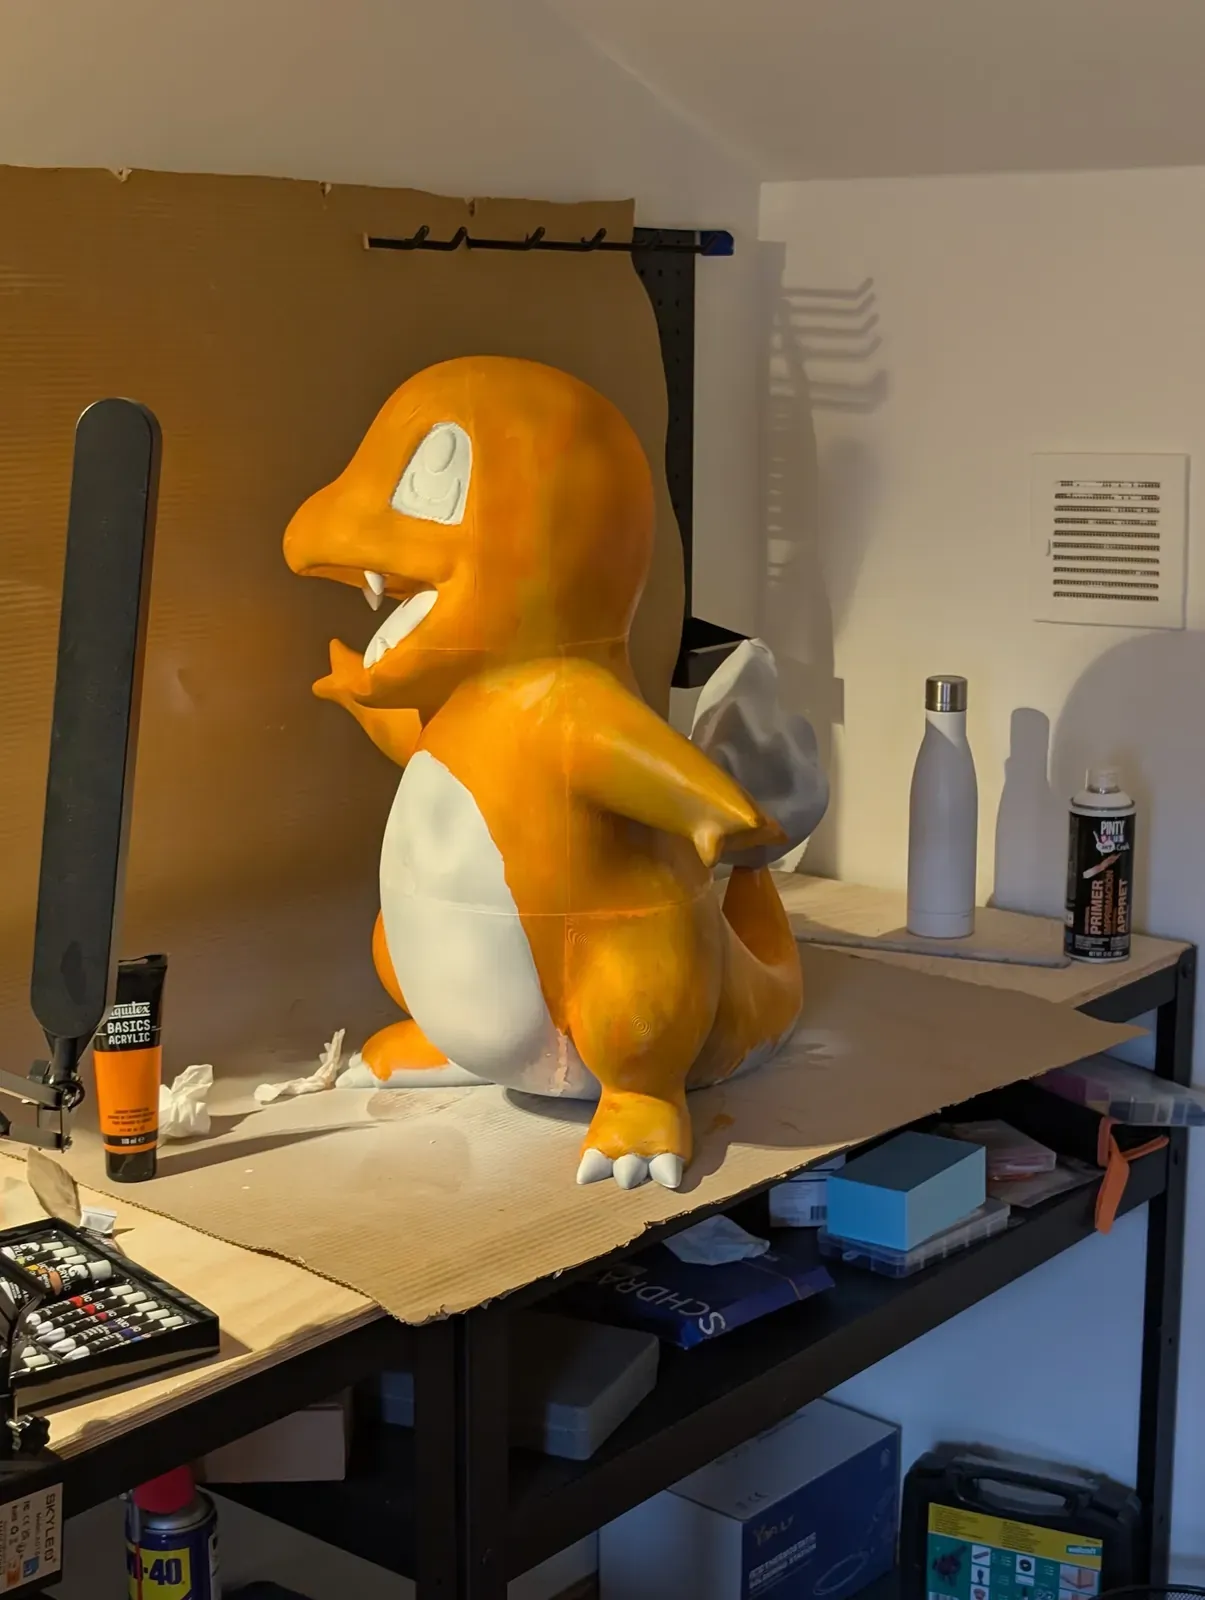
I spent several hours here. Some problems:
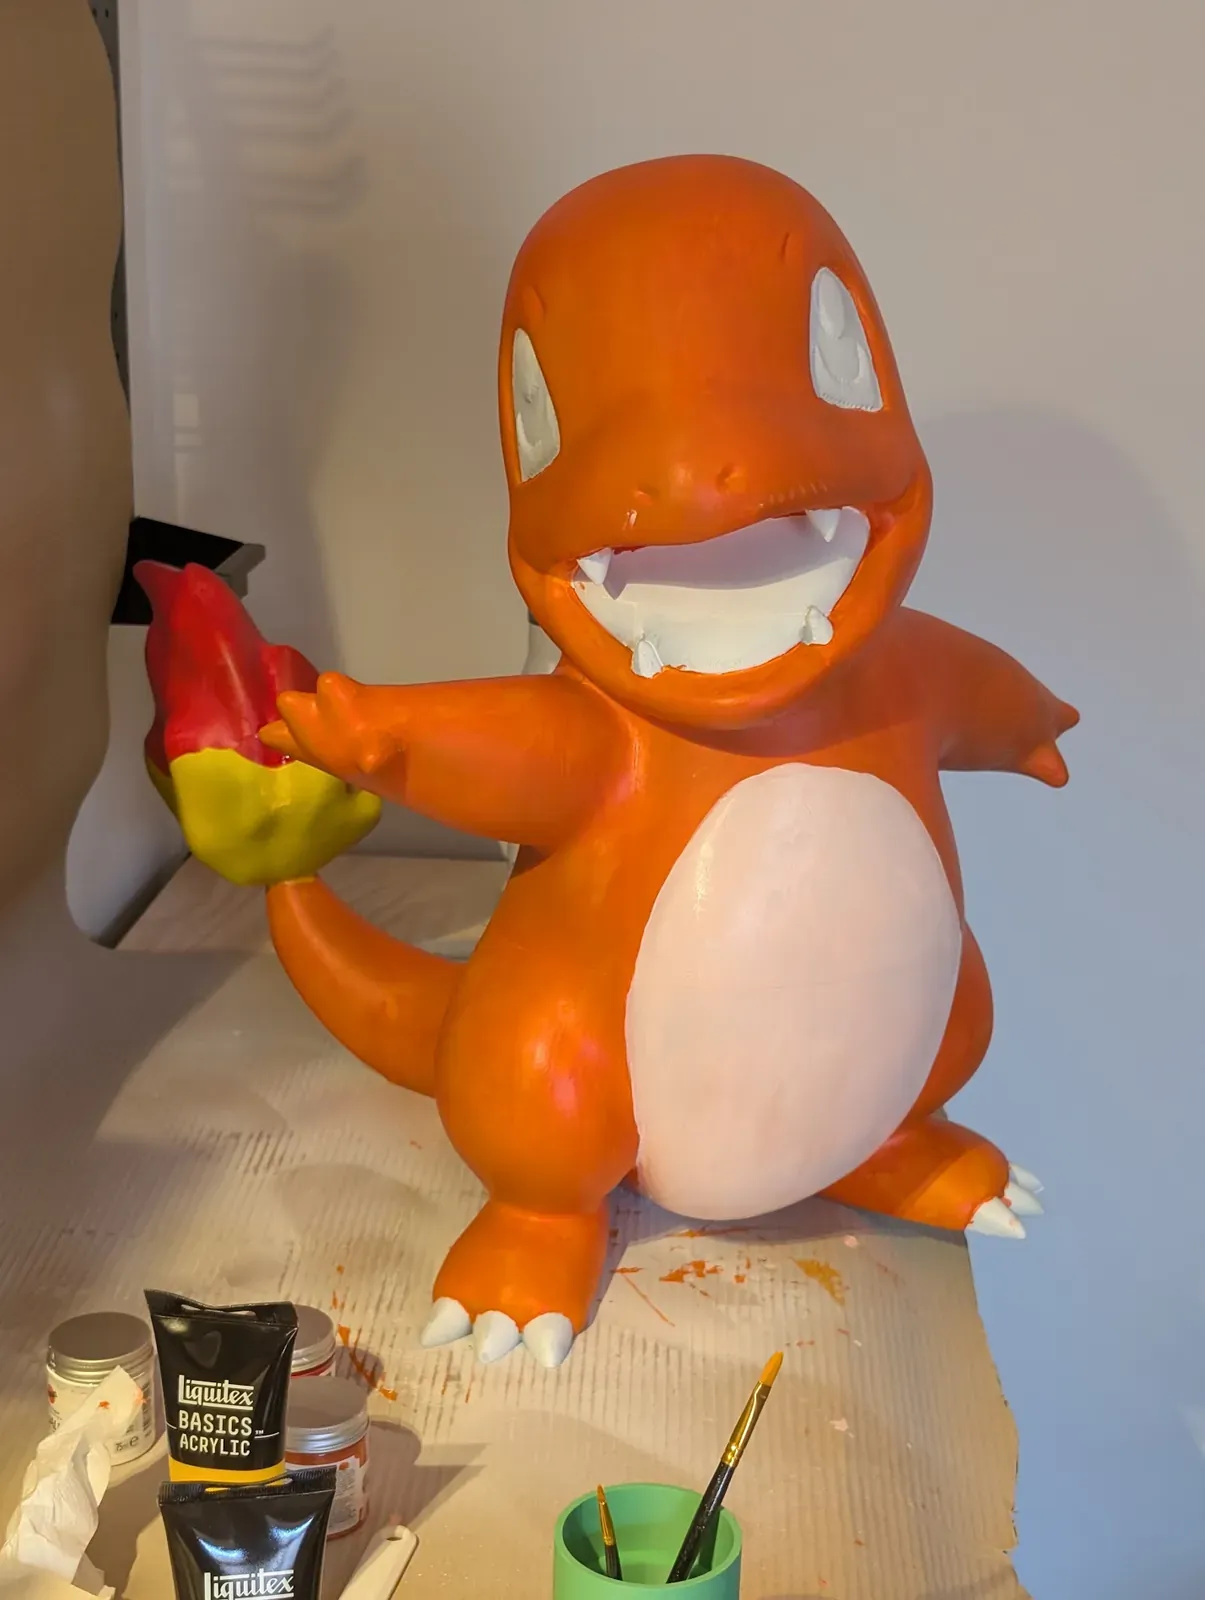
- The paint I bought wasn’t 100% opaque (maybe no paint is 100% opaque, IDK), and I needed several coats to make the gray disappear. That’s why I regret using gray filament. I should have used white or orange.
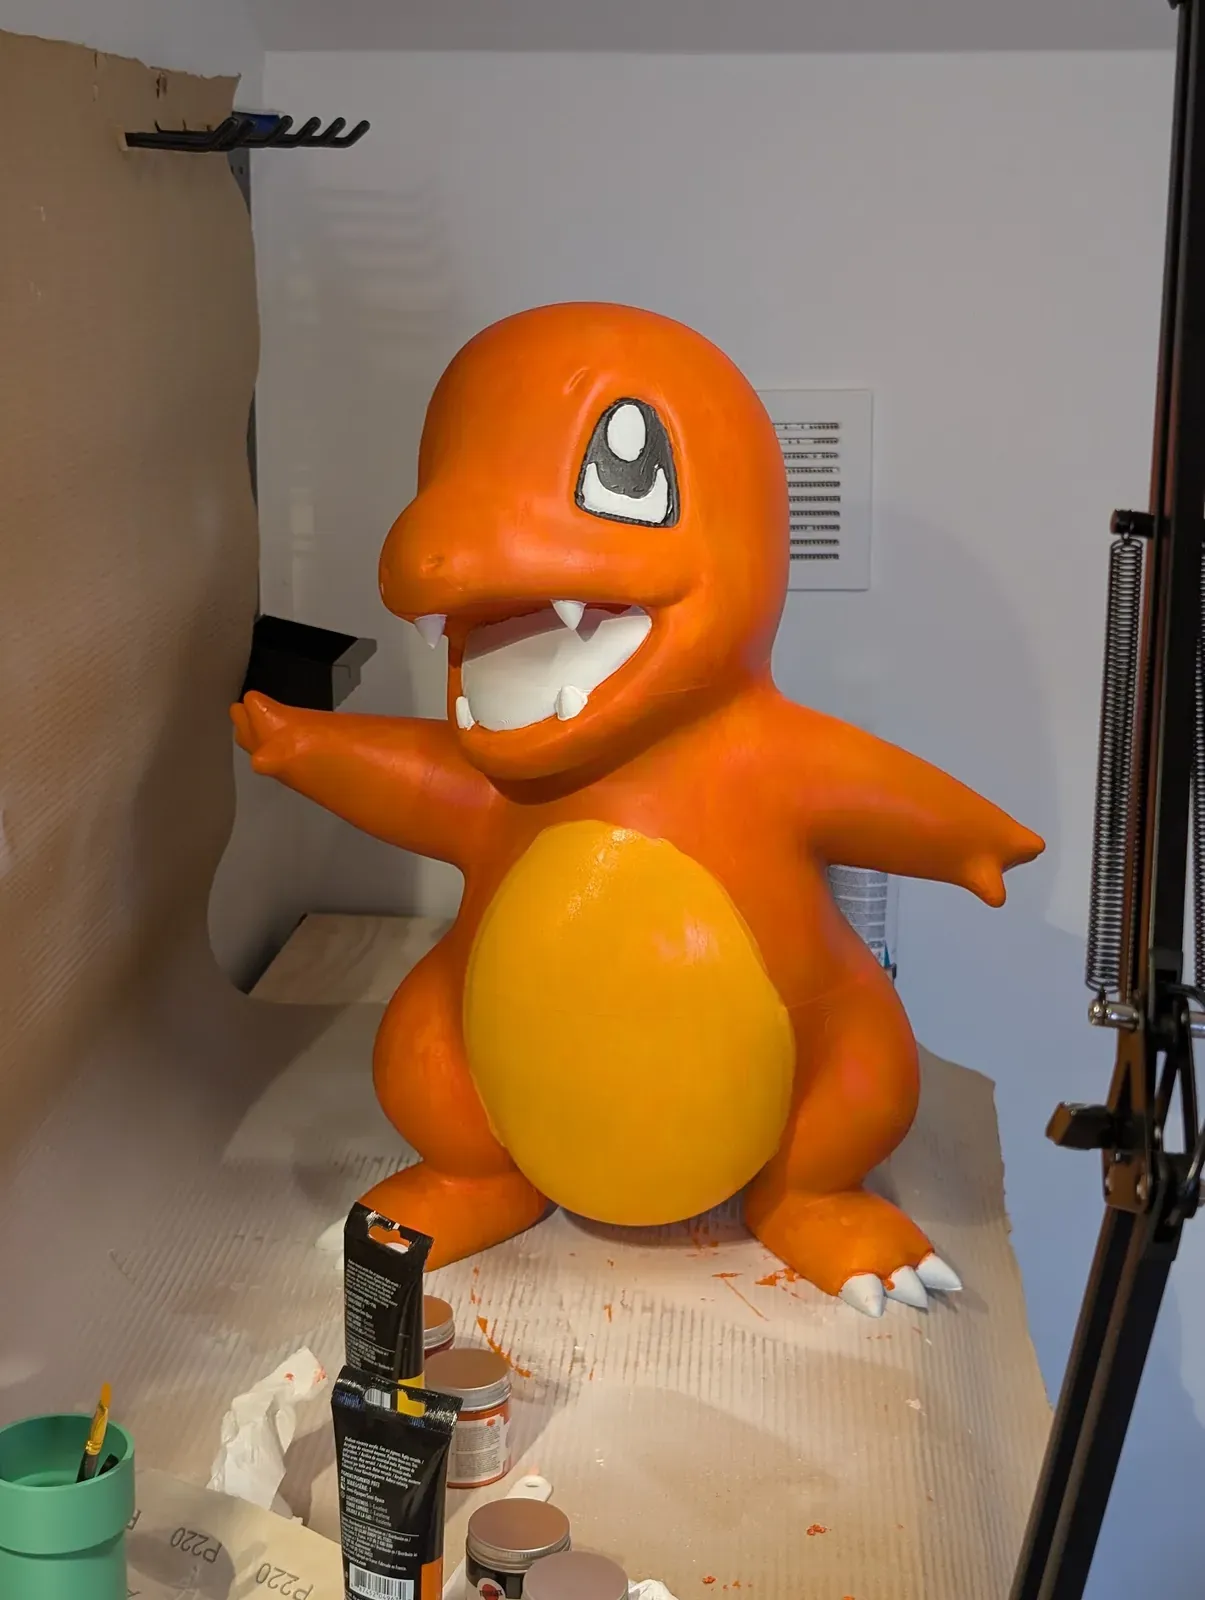
- The joints between the pieces were filled with wood filler, a different material and a different color, so they needed even more coats. You can still see the seams today.
Apart from that, it was just a long process: one coat of paint, then another one, and then another one, in the right color for each part.
#4.3 Protective varnish
Just the last step. To keep the paint from getting damaged over time, I applied a clear protective varnish over the whole figure. I don’t even remember which one it was, just a standard protective varnish… because at that point I still didn’t know it was going to end up outside.
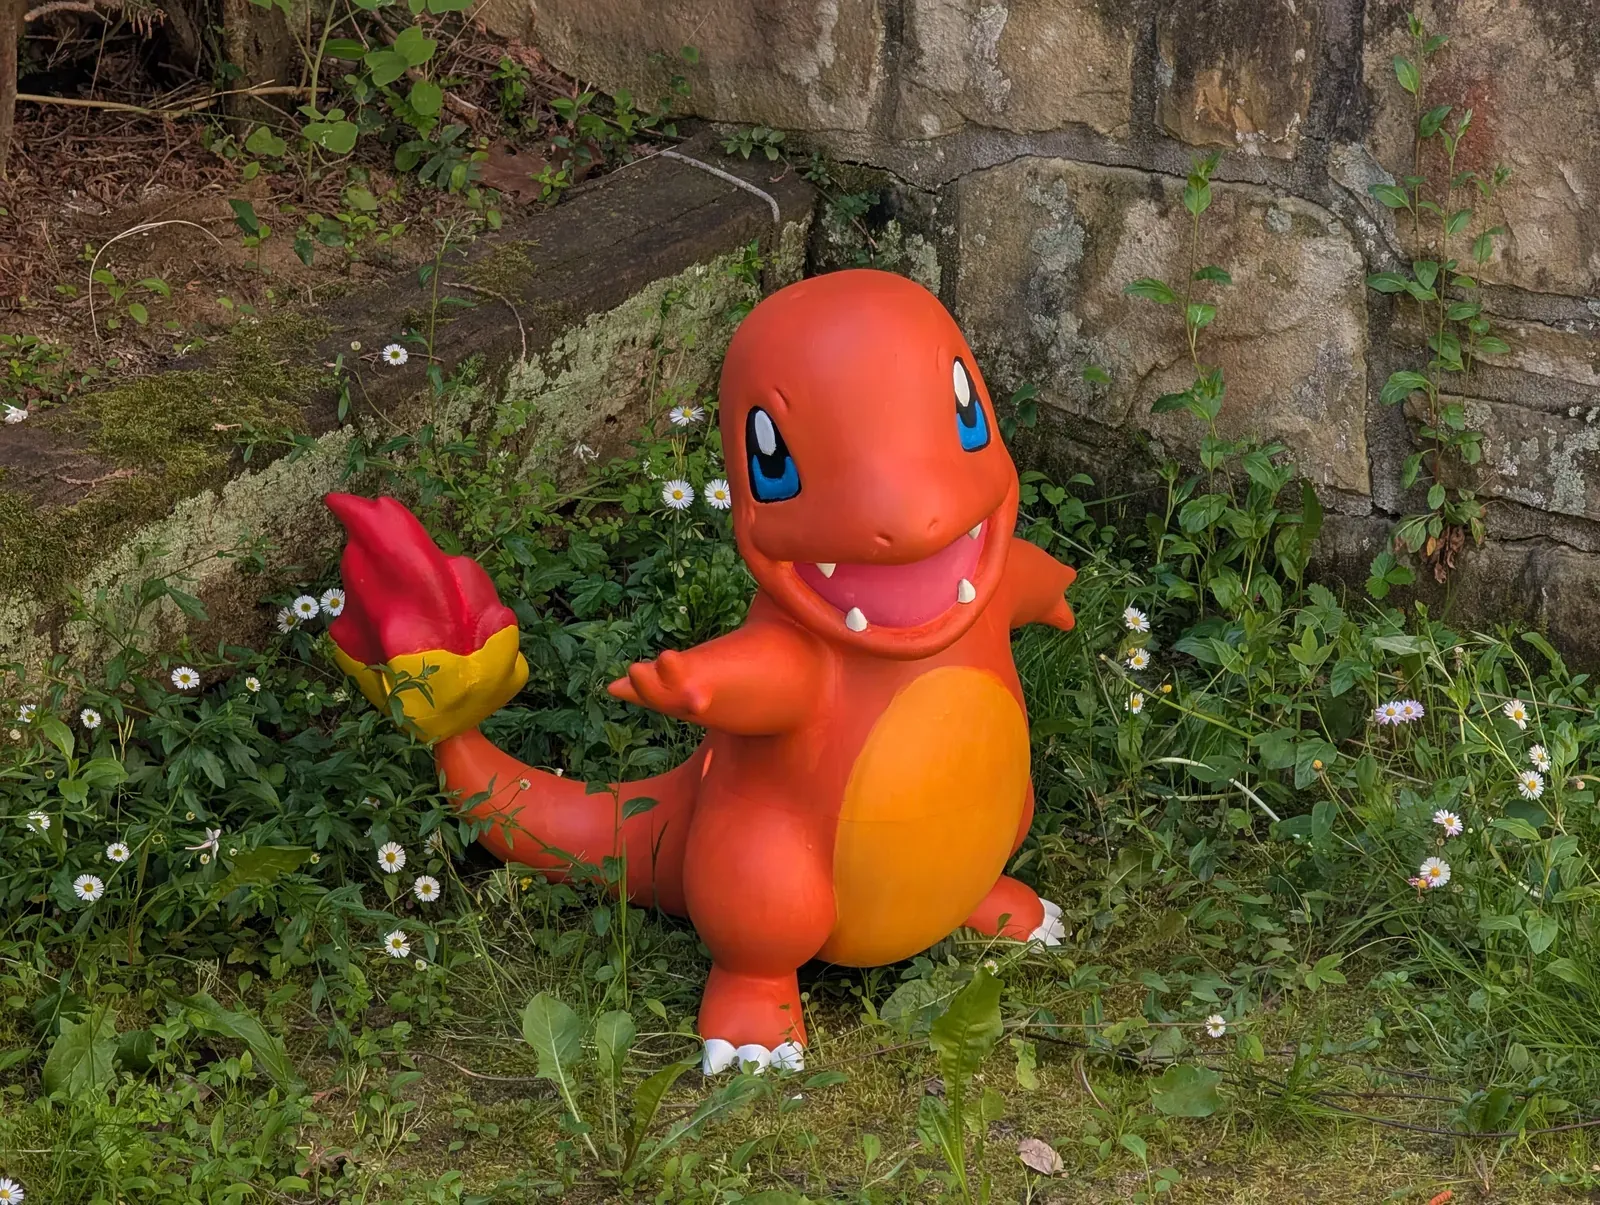
#5 Garden defender!
And that’s where it ended up: Charmander is now defending our garden!
In the future I would like to do the other two starters, Bulbasaur and Squirtle, and Pikachu as well.